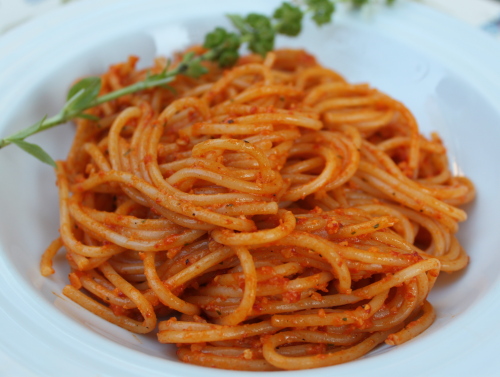
10 Fall Favorites

October’s arrival sees us dusting off the jars of cinnamon, cloves and nutmeg for autumn baking and the return of warm bowls of soup or stew to wrap cold hands around. Here are 10 of our fall favorites.

Bacon and butterbean chowder


Pappardelle with butternut squash, blue cheese and pine nuts

Cider-brined pork chops with apples and creamed leeks

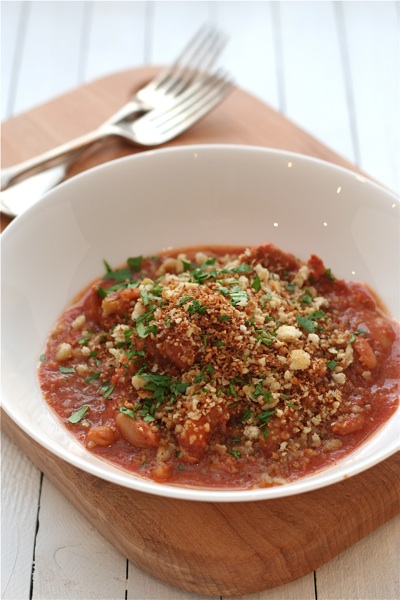
Slow cooker cassoulet

Autumn minestrone

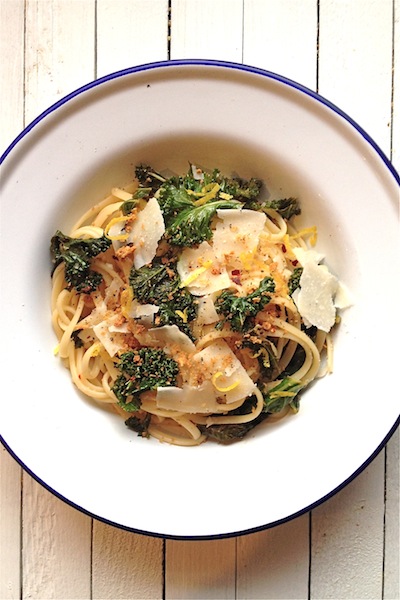
Linguini with braised kale

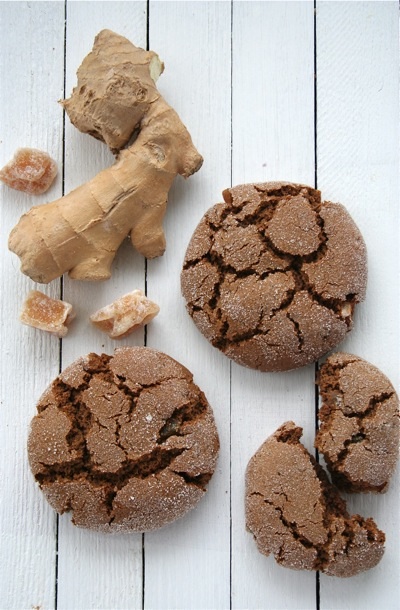
Ultimate ginger cookies

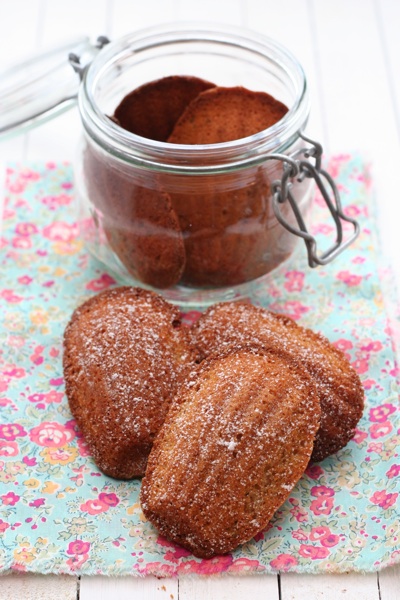
Honey spiced madeleines

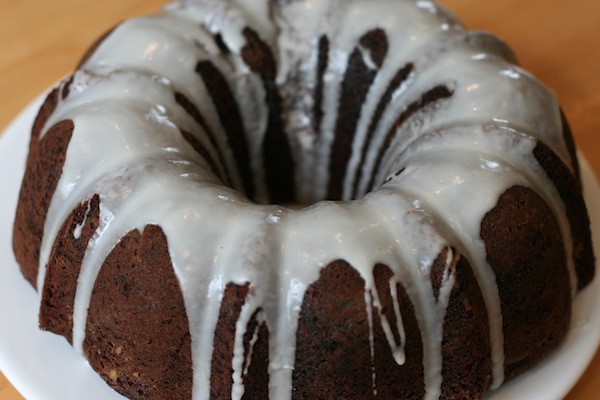
Date nut spice bread

Cranberry oatmeal white chocolate chunk cookies

Crispy Lamb and Mint Rolls

My sushi-eating, blue cheese-loving kids have become picky eaters and my son smothers everything in ketchup. Over the summer, my heart sank a little further every night at dinnertime, when no matter what I put in front of the kids, it seemed to always be met with a yuck or eww (though at least I’ve trained the seven-year-old well enough to say I don’t care for this). So after months of despairing about what to feed them, I’ve decided to make life easier on myself and do what their daycare does — I make the same things every week. I still play around with new recipes on the weekends, but now Fridays are roast chicken, taco night Tuesdays and Mondays are some kind of mince, that fail-safe reliable. So far that’s meant Spaghetti Bolognese, meatballs, turkey burgers or shepherd’s pie, but things have got a little more interesting with the reissued Marvellous Meals with Mince by Josceline Dimbleby. Originally published in 1982 for the Sainsbury’s supermarket chain, where it became a bestseller, the book has been completely rewritten and brought up to date with fresh new photography.

Finger food still seems to be a safe bet, so I made the crispy lamb and mint rolls first — which the kids wolfed down with a simple yoghurt dip and asked for seconds. On my list of recipes still to try are meatloaf with blue cheese, a picnic loaf, fish sausages and potato croquettes stuffed with pork. I may have given in to the picky eaters — for now — but at least Mince Mondays are looking up.

Crispy Lamb and Mint Rolls
adapted from Marvellous Meals with Mince by Josceline Dimbleby

Serves 4 as a light dinner

The original recipe calls for deep-frying the rolls, but I’ve modified it slightly to bake them in the oven instead as a healthier and easier option.

12 oz (350 g) lean lamb mince
3 large garlic cloves, finely chopped
1 inch (3 cm) piece of fresh root ginger, peeled and finely chopped
2 teaspoons ground cumin
1/4 to 1/2 teaspoon mild chilli powder
salt and freshly ground black pepper
olive oil
a handful of mint or cilantro (a.k.a. coriander) leaves, chopped
2 large eggs, lightly whisked (but only crack one at a time into the bowl for two separate uses)
2 ready-rolled puff pastry sheets
cucumber raita or seasoned Greek yoghurt, for dipping
couscous studded with apricots, preserved lemons, almonds and mint, to serve

In a large bowl, mix together the lamb, garlic, ginger, cumin, chilli powder and salt and pepper. Heat some olive oil in a large frying pan over a high heat. Fry the meat just until it has browned. Transfer the lamb to a bowl with a slotted spoon to leave behind any excess fat and allow to cool slightly, then stir in the chopped mint or cilantro (coriander) and one of the beaten eggs.

Preheat the oven to 400°F (200°C) and line a baking tray with parchment paper.

Lightly dust your work surface with flour and roll out the pastry sheets to stretch them a bit. Brush the edges of the pastry with some of the remaining beaten egg to help it stick together when you roll it up, then spoon half of the meat mixture onto one of the sheets, leaving a small gap clear at the top long edge. Starting with the long edge closest to you, carefully roll up the pastry sheet, pressing down gently as you go to enclose the meat inside it, so that the lamb rolls resemble a Swiss roll. When you’ve finished, press down firmly to seal the edges together. Cut at 3 inch (7 cm) intervals to make small pastry swirls and place on the lined baking sheet, seam side down. Repeat with the second sheet of pastry and the remaining lamb.

Brush the tops of the rolls with the last of the beaten egg and sprinkle with flaky sea salt and a crack of black pepper. Cook in the oven for 20 to 30 minutes, until the pastry has puffed up and is golden brown. Serve with cucumber raita or seasoned Greek yoghurt for dipping and a mound of couscous on the side.

Disclaimer: I received a review copy of Marvellous Meals with Mince from Quadrille Publishing.


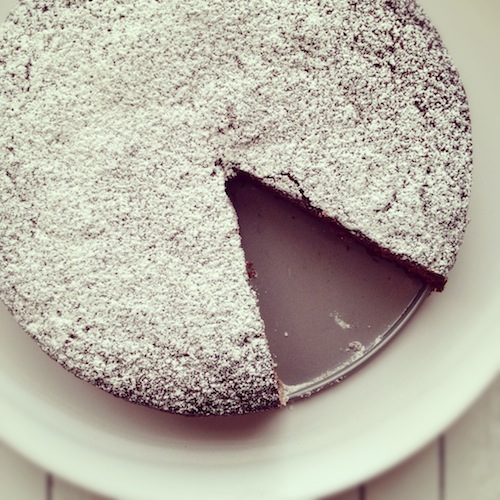
Nigella Lawson’s Store Cupboard Chocolate Raspberry Cake

Cookbook writers and TV chefs are always talking about dishes to serve when unexpected guests pop in or if you’re having friends round for a midweek dinner party. Seriously? Who on earth has a dinner party in the middle of the week? And who calls in unannounced and expects to have some little treat fresh out of the oven set down in front of them? I’m a third generation Virgo and consider myself to be fairly well organised, but I would be hard pressed to rustle up much more than some stale crackers unearthed from the back of the pantry if someone dropped by out of the blue.

Until, that is, I discovered this cake. It’s my favorite kind of cake recipe — the kind where the butter is melted and then everything gets stirred together in one pot, meaning you don’t even have to plan ahead to let the butter soften first. I always have the baking basics on hand (flour, butter, sugar, eggs), and if you just add a jar of raspberry jam and a bar of dark chocolate to that list, then this is truly a store cupboard cake, one you can breezily whip together at a moment’s notice if a craving for cake suddenly strikes — or if, like Nigella, you just so happen to be throwing an effortless-looking dinner party on a school night.

Store Cupboard Chocolate Raspberry Cake
adapted from How to Be a Domestic Goddess by Nigella Lawson

The original recipe is actually called Store Cupboard Chocolate Orange Cake, since it calls for marmalade instead of raspberry jam. I’ve made it that way too but as much as I love marmalade, I like the raspberry jam version even better.

1/2 cup (125 g) unsalted butter
4 oz (100 g) dark chocolate, broken into pieces
3/4 cup (300 g) good-quality raspberry jam (or apricot jam or marmalade)
3/4 (150 g) sugar
pinch of salt
2 large eggs, beaten
1 1/4 cups (150 g) self-raising flour
confectioners’ sugar (icing sugar), to decorate (optional)

Preheat the oven to 350°F (180°C). Butter and flour an 8 inch (20 cm) Springform pan and set aside.

Put the butter in a heavy-bottomed saucepan and set over a low heat to melt. When it’s almost melted, stir in the chocolate and allow it to melt a little. Take the pan off the heat and stir until the butter and chocolate are smooth and melted. Add in the jam, sugar, salt and eggs and stir well until everything is combined. Sift in the flour and stir again (taking care not to overmix), then pour the batter into the prepared Springform pan. Bake in the oven for 45 to 50 minutes, until a tester inserted into the centre comes out clean. Set the pan on a wire rack and allow the cake to cool in the pan for at least 10 minutes before you turn it out. Once it’s completely cooled, sift over some confectioners’ (icing) sugar to decorate.

Vegetable Biryani

When I dine out, I almost always order the dish that I can’t make (think soufflé) or one that is too labor intensive to make at home. Invariably, that means a mole sauce at a Mexican restaurant, sushi at our favorite Japanese place, or biryani when we’re eating Indian. For those not familiar with biryani, it’s a fragrant rice-based dish popular in Pakistan, India, and beyond. I’ve tried several biryani recipes at home over the years, with mixed results. Traditional recipes involve several steps and multiple pans. This version is easier and less fattening than other recipes. The taste is just as good, if not better, than many restaurant versions that I’ve had. Great for vegetarians and meat-eaters alike, don’t be afraid of the long ingredient list and feel free to swap in whatever vegetables you have handy. The original recipe calls for a small head of cauliflower and small red potatoes instead of zucchini. My fridge was pretty bare, but it didn’t stop me from getting a decent meal on the table.

Although substitute vegetables will work in this dish, the basmati rice is essential. If you don’t normally buy basmati, consider adding it to your shopping list. It can elevate the most humble of rice dishes and I find it more forgiving to cook than other rices and grains. I recently bought a 20 pound bag from Costco. My husband thought I was crazy but my fellow Costco afficiandos can appreciate a good deal when they see it. Speaking of Costco, check out my friend Outlaw Mama’s funny posts on the subject.

Vegetable Biryani
adapted from foodnetwork.com

I think biryani tastes best served with raita. Here is an easy raita recipe or, if you are out of cucumbers, just serve some plain yogurt alongside.

serves 4–6 as main course

For the rice:
1 cup (180 g) basmati rice
1 tablespoon unsalted butter
2 tablespoons raisins
2 tablespoons sliced almonds (blanched or toasted)
1/2 teaspoon turmeric
1/4 teaspoon whole cumin seeds
1/4 teaspoon whole coriander seeds
3 whole cardamom pods
1 cinnamon stick, broken in half
1 3/4 cups (400 ml) water
1 teaspoon kosher salt

For the vegetables:
2 tablespoons unsalted butter
1 small yellow onion, thinly sliced
1 tablespoon peeled, minced fresh ginger
2 cloves garlic, minced
2 tablespoons  raisins
2 tablespoons sliced almonds (blanched or toasted)
1 1/2 teaspoons ground coriander seeds
1/2 teaspoon ground cumin
5 whole cardamom pods
1 large or 2 small zucchini, diced
6 ounces green beans, cut into 1‑inch pieces
1 medium carrot, diced
1 teaspoon kosher salt
2/3 cup (160 ml) water
2 tablespoons toasted sliced almonds

Make the rice: Place the rice in a sieve and rinse under cold running water until the water runs clear. Set aside.

Melt the butter in a medium saucepan with a tight-fitting lid, over medium-high heat. Add the golden raisins, almonds, turmeric, cumin seed, coriander seed, cardamom pods, and cinnamon stick and cook, stirring, until toasted and fragrant, about 2 minutes. Add the rice and cook, stirring, until toasted, about 1 minute more. Add the water and salt and bring to a boil. Lower the heat and simmer, (wrap the lid tightly with a kitchen towel), cover, and steam until the rice is tender, 20 minutes. Remove from the heat and let rest, covered, for 10 minutes. Fluff with a fork and set aside.

Meanwhile, make the vegetables. Melt the butter in a medium straight-sided skillet with a tight-fitting lid, over medium-high heat. Add the onion and cook, stirring, until lightly browned, about 1 minute. Add the garlic and ginger and cook, stirring, until fragrant, about 1 minute. Add the golden raisins, almonds, coriander seed, cumin seed, and cardamom and cook, stirring, until toasted and fragrant, about 2 minutes. Stir in the zucchini, green beans, carrots, and salt. Raise the heat to high, pour in the water, and cook, covered, for 4 minutes. Uncover and cook, stirring, until the vegetables are tender and most of the water has evaporated, about 1 1/2 minutes more.

Add the rice to the vegetable mixture and, using a rubber spatula, gently stir to combine. Season with salt to taste. Divide the vegetable-rice mixture among plates and top with some of the almonds. Serve immediately.

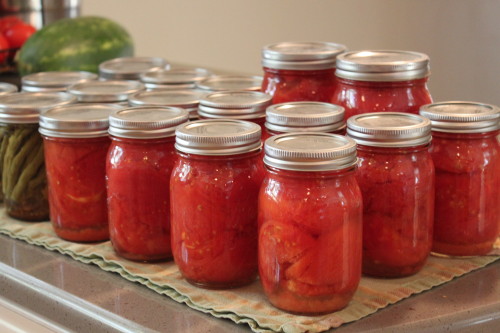
Canning Tomatoes and Pickled Green Beans

In celebration of our three year blogging anniversary (congratulations to us!) I’m making an exception to our normal dinner menu/recipe format in order to encourage you all to try canning or preserving during this produce-abundant time of year. Over the last few years, really since having kids, I’ve been trying to move towards more local, sustainable, organic and less processed foods. Canning and preserving makes this goal more attainable, especially in Wisconsin, which has easy access to farms but a short growing season. After reading Barbara Kingsolver’s Animal, Vegetable, Miracle and having Kristin walk me through canning a batch of homemade pickles, I am now a canning addict. Home preserved food is cheaper and better tasting than store bought and nothing beats the feeling of opening your pantry and seeing rows of gorgeous food lined up and ready for the long winter ahead. Food that you made!

If you think canning is difficult and time consuming, think again. Putting up a batch of pickles takes less than 2 hours and hardly any prep, especially after you’ve done it a few times and figure out little tricks like putting up the canning water to boil before doing anything else. I put on a good album and do my canning after my children go to bed. I find it relaxing and fun. Last week, my friends and I tried canning tomatoes for the first time, throwing a little canning party complete with hired babysitter. Although novices with tomatoes, we cranked out 15 jars in three hours at cost of about $1 per jar.  We also did a quick double batch (8 jars) of dilly beans. Not too bad for a Sunday morning’s work.


Canned Tomatoes (Packed in Water)

from Ball Complete Book of Home Preserving, recipe available here

There are many wonderful canning websites with detailed instructions and pictures on how to prepare your jars, lids and other canning set up information. I like the canning tips at pickyourown.org and the photos and instructions for tomato canning at Food in Jars. Beginners should also check out the videos and instructions here.

2–1/2 to 3–1/2 lb (1 to 1.5 kg) ripe tomatoes (about 7 to 10 medium) per quart
Water
Citric acid or bottled lemon juice
Salt, optional
Glass preserving jars with lids and bands

Prepare boiling water canner. Heat jars and lids in simmering water until ready for use. Do not boil. Set bands aside. [NOTE: I sometimes do this step in my dishwasher, running the washer on “high temp” and then keeping the jars inside and hot until ready to fill.]

Wash the tomatoes. Dip them in boiling water 30 to 60 seconds. Immediately dip in ice water. Slip off the skins. Trim away any green areas and cut out the core. Leave the tomatoes whole or cut into halves or quarters.

Prepare the tomatoes according to raw or hot pack recipe below.

Add ½ teaspoon citric acid or 2 tablespoons bottled lemon juice to each hot quart jar. Add ¼ teaspoon citric acid or 1 tablespoon bottled lemon juice to each hot pint jar.

Pack tomatoes into hot jars according to raw or hot pack recipe. Add 1 teaspoon salt to each quart jar, 1/2 teaspoon to each pint jar, if desired. Remove air bubbles in the jars with a spoon or, my preference, a large chopstick. Wipe each rim. Center a hot lid on each jar. Apply a band to each jar and adjust until the fit is fingertip tight.

Process the filled jars in a boiling water canner 40 minutes for pints and 45 minutes for quarts, adjusting for altitude. Remove the jars and cool. Check lids for seal after 24 hours [NOTE: we heard the beautiful “pop” of the seal in about 3 hours]. The lid should not flex up and down when the center is pressed.

Raw Pack –
1.) Pack the tomatoes into hot jars leaving 1/2 inch headspace.
2.) Ladle hot water over tomatoes leaving 1/2 inch headspace. Add 1 teaspoon salt to each quart jar, 1/2 teaspoon to each pint jar, if desired.

Hot Pack –
1.) Place the tomatoes in a large saucepot. Add water to cover. Bring to a boil and boil gently 5 minutes, stirring to prevent sticking.
2.) Pack the hot tomatoes into hot jars leaving 1/2 inch headspace.
3.) Ladle hot cooking liquid over tomatoes leaving 1/2 inch headspace. Add 1 teaspoon salt to each quart jar, 1/2 teaspoon to each pint jar, if desired.

***

Pickled Green Beans (aka Dilly Beans)

from Food in Jars

2 lbs (900 g) green beans, trimmed to fit your jars
1 teaspoon cayenne pepper (more or less depending on your spice preference)
4 teaspoons dill seed (not dill weed)
4 cloves garlic
2 1/2 cups (600 ml) white vinegar (5%)
2 1/2 cups (600 ml) water
1/4 cup (50 g) pickling salt (use a bit more if you’ve only got kosher)

Prep your canning pot by inserting a rack to keep your jars off the bottom of the pot, place pint jars in (wide-mouth pints work best here. A 12 ounce jelly jar is also nice, as it’s a bit taller than a standard pint and makes for less trimming) and fill it with water. Bring to a boil to sterilize while you prepare the rest of your ingredients.

Wash and trim your beans so that they fit in your jar. If you have particularly long beans, your best bet is to cut them in half, although by doing so, you do lose the visual appeal of having all the beans standing at attending.

Combine vinegar, water and salt in a medium saucepan and bring to a boil. While it’s heating up, pack your beans into the jars, leaving 1/2 inch headspace (distance between the tops of the beans and the rim of the jar). To each jar, add 1/4 teaspoon cayenne pepper, 1 clove of garlic and 1 teaspoon dill seeds.

Pour the boiling brine over the beans, making sure to leave that 1/2 inch headspace. Use a plastic knife to remove air bubbles from jar by running it around the interior of the jar. Wipe the rims and apply the lids (which have been sitting in a small saucepan of water at a mere simmer for at least ten minutes in order to soften the sealing compound) and rings.

Process for 5 minutes in a boiling water bath (remember that you don’t start timing until the pot has come to a roiling boil).


Five Favorite Zucchini Recipes

They’re coming, they’re on us,
the long striped gourds, the silky
babies, the hairy adolescents,
the lumpy vast adults
like the trunks of green elephants.
Recite fifty zucchini recipes!

- from “Attack of the Squash People” by Marge Piercy

It’s that time of year when gardeners are groaning under a zucchini glut, leaving them on doorsteps or in unlocked cars, driven to look for “newcomers” or “tourists” to offload them on, as in Piercy’s poem. We might not be able to “recite fifty zucchini recipes”, but here are five of our favorite ways to use them up.

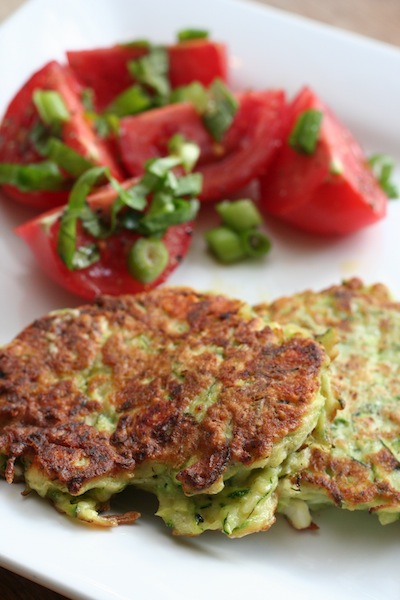
Zucchini fritters with feta and dill

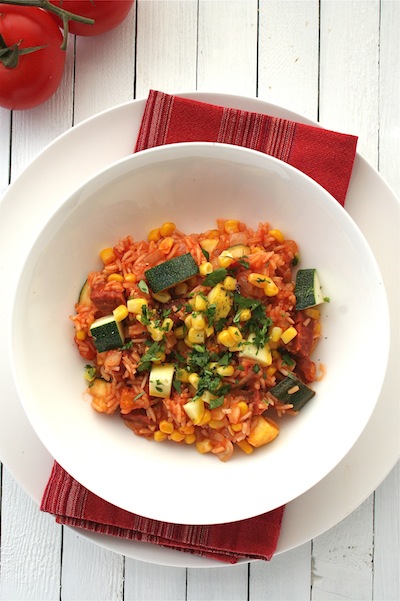
Mexican rice supper with zucchini, chorizo and corn

Chocolate zucchini cake

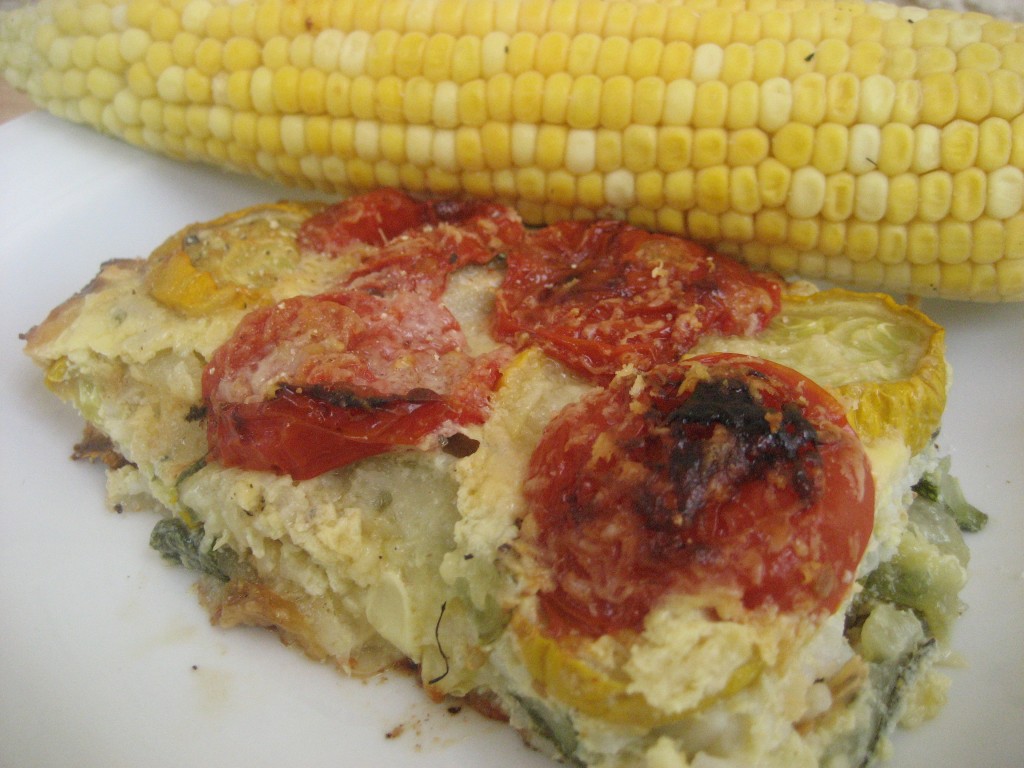
Zucchini rice gratin

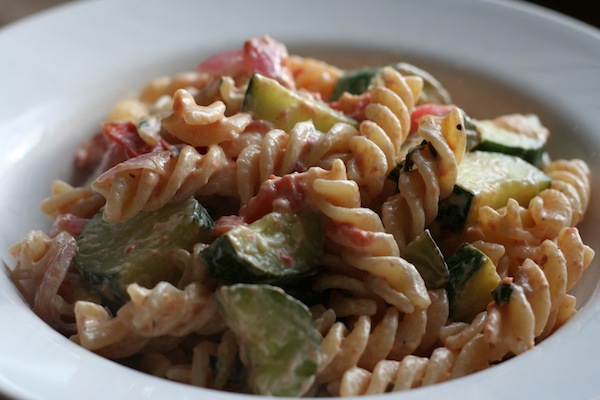
Fusilli with zucchini, tomatoes and bacon

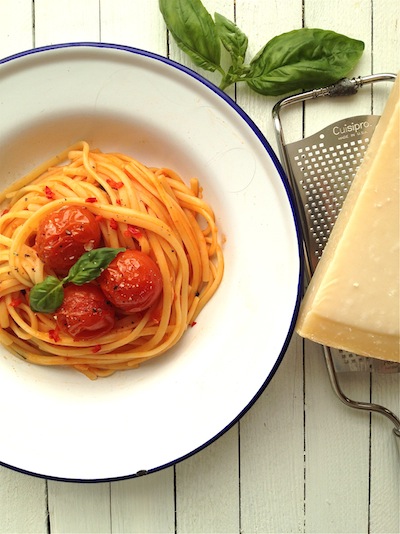
Spaghetti with Roast Cherry Tomatoes, Chili and Basil

Remember physically cutting recipes out of newspapers and magazines or writing them by hand onto recipe cards, to be filed away into boxes or binders? I was cleaning out my kitchen recently and found two big binders full of recipe clippings, shoved out of reach at the back of a cabinet, that I had completely forgotten about. I dusted them off and flipped through them to save any of the recipes that had caught my eye a decade ago that still sounded good, and it occurred to me that this would probably be the last time I ever paged through torn-out recipes. Now, if I see a recipe in print that I want to save for later, I look it up online and bookmark it or add it to my spreadsheet. This was a recipe I had cut out of a newspaper years and years ago, the original source long since forgotten, the paper already turning yellow and brittle, an old summer favorite happily rediscovered.

If you’re looking for ways to use up an abundance of garden tomatoes, try these too: Chicken Cacciatore, Tomato and Goat’s Cheese Tart, Ravioli and Tomato Salad, Oven-roasted Ratatouille, or Spaghetti with Fresh Tomato Sauce.

Spaghetti with Roast Cherry Tomatoes, Chili and Basil

Serves 4

This would look especially nice if you used a mix of yellow and red cherry tomatoes. You could also add some finely chopped sun-dried tomatoes to the sauce if you have them.

olive oil
2 garlic cloves, chopped
2 red chilies, deseeded and finely chopped
2 tablespoons tomato paste
1 lb 2 oz (500 g) cherry tomatoes, 16–20 left whole and the rest cut into quarters
1 teaspoon sugar
splash of white wine or vermouth (optional)
salt and freshly ground black pepper
small bunch of basil, leaves removed from stems and cut into thin ribbons (chiffonade)
1 lb (450 g) spaghetti
freshly grated Parmesan, to serve

Preheat the oven to 425°F (220°C).

Heat some olive oil in a large saucepan over a low heat. Add the garlic and chopped chili and cook for 1 minute, taking care not to let the garlic will burn or it will taste bitter and ruin the dish. Stir in the tomato paste and cook for 1 or 2 minutes, then add the chopped tomatoes and sugar. Turn up the heat and cook for a minute or two, then add just a splash of white wine or vermouth (or water) and season with salt and pepper. Bring to a rapid splutter, then lower the heat and let it gently bubble away until reduced to a thick-ish sauce.

Meanwhile, cook the spaghetti in a large pot of boiling salted water, reserving a cupful of the cooking water when it’s done. Scatter the remaining tomatoes onto a baking sheet, season well with salt and pepper and drizzle with olive oil. Roast in the hot oven for about 10 minutes, until the tomatoes start to split.

To serve, add the cooked, drained pasta to the chili tomato sauce, stirring well until all the pasta is coated with sauce. Add a splash of the reserved pasta water to loosen the sauce. Stir in the basil and divide the pasta between 4 plates or shallow bowls. Add the roasted tomatoes individually to the top of each dish. Finish with a few basil leaves to garnish and a grating of Parmesan.

A Cooking Blog